
Have an old saree that you no longer wear? Instead of leaving it unused in your wardrobe, you can give it a new look by turning it into a beautiful lehenga.
Learning how to stitch a lehenga from a saree is a great way to reuse an existing outfit while exploring your creativity and stitching skills. With the right measurements, careful cutting and basic sewing techniques, you can create a lehenga for weddings, festivals and other special occasions.
Here is a simple step-by-step guide for beginners.
Can You Make a Lehenga from a Saree?
Yes, you can turn many sarees into lehengas. The final result depends on the saree’s fabric, length, width and design.
Silk, georgette, satin, chiffon and cotton-silk sarees can be used for different types of lehengas. Sarees with a beautiful border or pallu can be especially useful because these details can become part of the finished design.
Before you start, check the saree for tears, stains or damaged areas and decide which parts you want to highlight.
Materials You Will Need
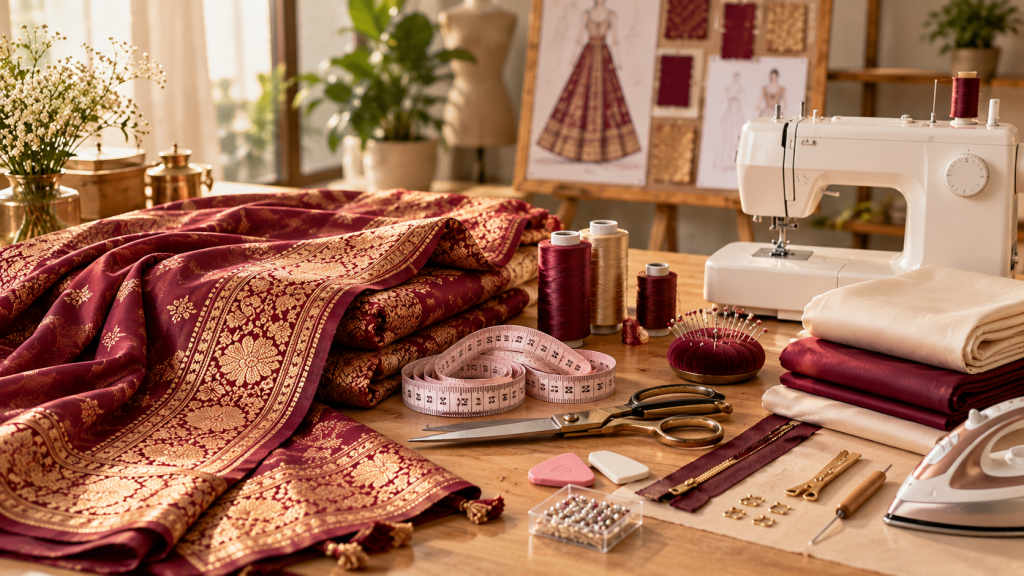
Keep the following materials ready before you begin:
- Saree
- Measuring tape
- Fabric scissors
- Sewing machine
- Matching thread
- Fabric chalk
- Pins
- Lining fabric
- Zip or hooks
- Needle
- Iron
You may need additional fabric if you want a very wide flare or need extra material for the waistband and lining.
How to Stitch a Lehenga from a Saree
Step 1: Take Your Measurements
Start by taking accurate measurements of your waist, hips and desired lehenga length.
Measure your waist and hips comfortably without pulling the measuring tape too tightly. Then measure from your waist to the length you want for the lehenga.
Write down all your measurements before cutting the fabric.
Step 2: Decide Your Lehenga Style
Think about the style you want before cutting the saree.
You can create a simple straight lehenga, an A-line lehenga or a more flared design. Also decide where you want the saree’s border and pallu to appear.
Planning the design first is important because once the fabric is cut, making major changes can be difficult.
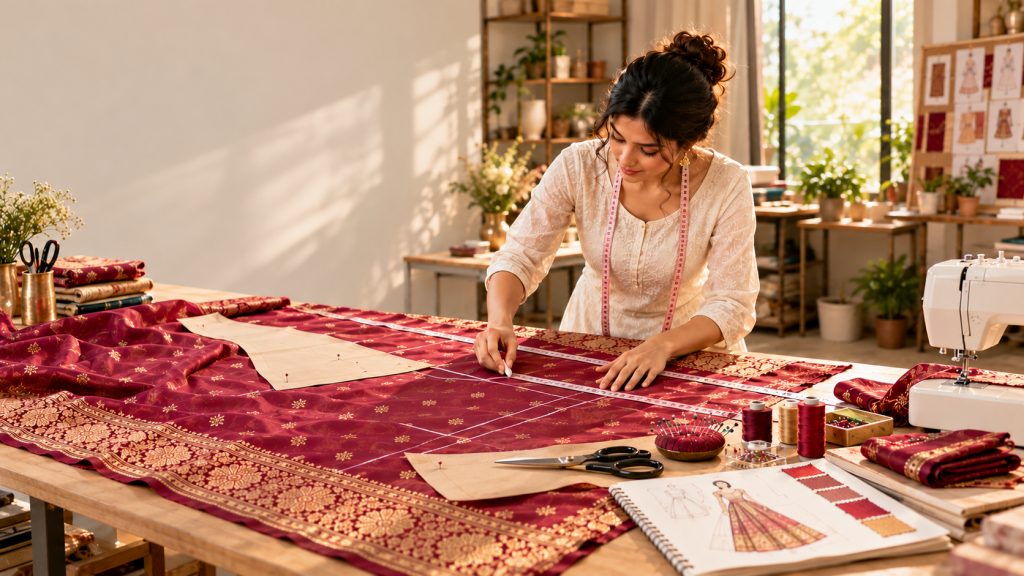
Step 3: Mark and Cut the Saree
Spread the saree on a clean, flat surface. Use fabric chalk to mark the required measurements.
Cut the fabric according to your chosen design, leaving some extra fabric for stitching and adjustments.
If the saree has a decorative border, plan your cuts so that the border can be used along the bottom of the lehenga.
Step 4: Prepare the Lining
A lining can make the lehenga more comfortable and help it hold its shape.
Cut the lining according to the shape of the outer fabric. The lining should generally be slightly shorter than the lehenga so that it does not show below the hem.
Place the lining and outer fabric together and secure them with pins before stitching.
Step 5: Stitch the Lehenga Panels
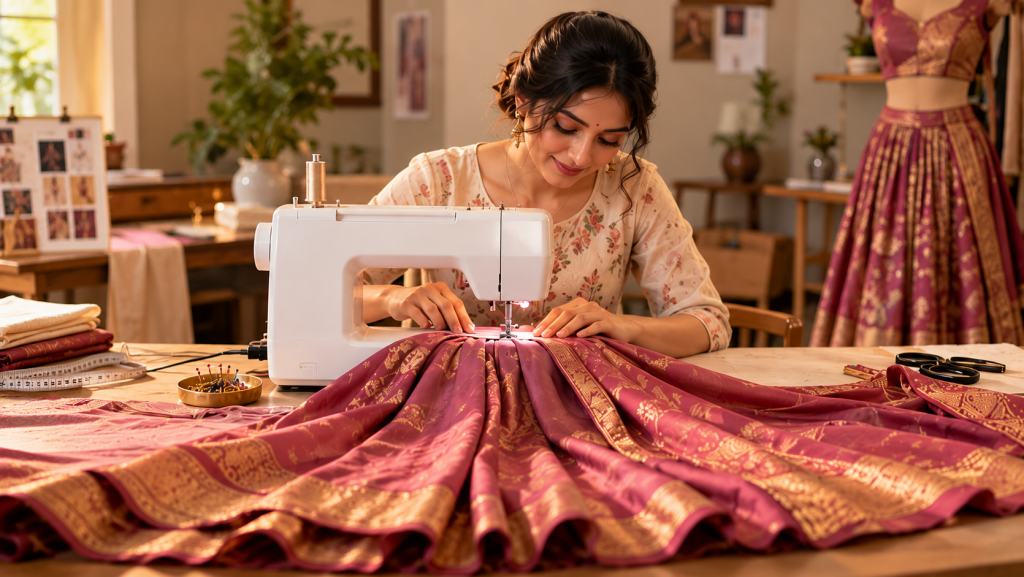
If your design needs multiple panels, join them one by one using a sewing machine.
Make sure the panels are aligned properly and that the seams are neat. Press the seams as you work to create a cleaner finish.
For a flared lehenga, distribute the panels evenly around the waist.
Step 6: Attach the Waistband
Prepare a waistband according to your waist measurement and attach it to the top of the lehenga.
You can use a zip, hooks or another suitable closure. Before completing the stitching, try the lehenga on to check the fit.
Make any necessary adjustments at this stage.
Step 7: Finish the Bottom
Finish the bottom edge of the lehenga neatly.
If your saree has a decorative border, you can use it at the hem to add detail without needing extra embellishment.
Check that the hem is even all around before completing the final stitching.
Step 8: Add Your Own Details
Once the basic lehenga is ready, you can customise it according to your style.
You can add:
- Lace
- Tassels
- Embroidery
- Beads
- Sequins
- Piping
You can also use the saree’s existing embroidery or border to keep the design coordinated.
Tips for Beginners
If this is your first time making a lehenga, start with a simple design.
- Take your measurements carefully.
- Plan the placement of the border before cutting.
- Mark the fabric clearly.
- Use sharp fabric scissors.
- Test your stitching on a scrap piece first.
- Keep some extra fabric for adjustments.
- Try the lehenga before completing the final stitching.
Most importantly, take your time with cutting. Accurate cutting makes the stitching process much easier.
How to Make Your Saree Lehenga Look Better
The beauty of converting a saree into a lehenga is that the saree already has its own colours, prints, embroidery or border.
Use these details to your advantage. A heavy border can be used at the bottom, while a decorated pallu can become a statement part of the outfit.
You can pair the finished lehenga with a matching or contrasting blouse and dupatta to create a complete festive or wedding look.
Turn Your Stitching Skills into Your Hunar
Learning how to stitch a lehenga from a saree is just one way to explore your creativity through stitching and fashion.
If you want to learn more about garment making, fashion design and professional stitching techniques, Hunar Online Courses can help you build practical skills from home.
With regular practice and the right guidance, a creative interest can become a valuable skill and open up new opportunities.
Frequently Asked Questions
1.Can any saree be converted into a lehenga?
Many sarees can be converted into lehengas, but the result depends on the fabric, length, width and design of the saree.
2.How much fabric is needed to make a lehenga?
The amount of fabric depends on the length and flare you want. A saree may be enough for a simple lehenga, while a fuller design may require additional fabric.
3.Can beginners stitch a lehenga from a saree?
Yes. Beginners can start with a simple design and gradually move on to more detailed styles. Accurate measurements and careful cutting are especially important.
4.What can I do with the saree pallu?
The pallu can be used creatively as part of the lehenga. Depending on its design, it can be placed at the front, back or side to create a statement detail.
5.Can I stitch a lehenga without a sewing machine?
Yes, a lehenga can be hand-stitched, but it will take more time. A sewing machine can make the process faster and help create strong, even seams.